
Give your public site its own identity
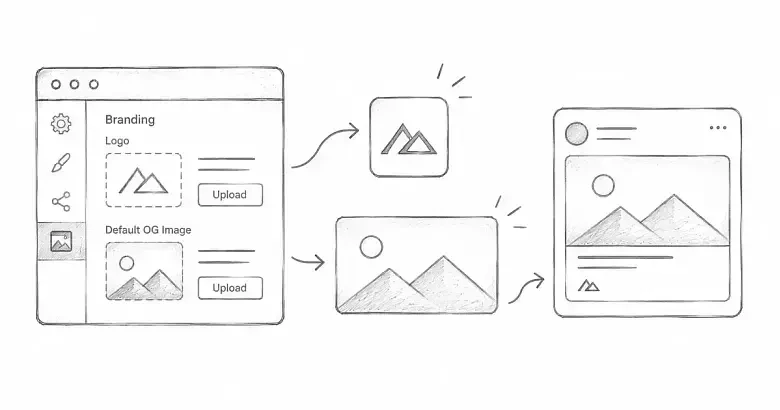
PostnHost uses two main brand images across the public site: a Site Logo and a Default OG Image. The logo identifies your publication in the header and other shared areas. The default OG image is used when a page is shared on social networks and does not have a more specific image of its own.
You can manage both from Settings → Assets.
Prepare the two images
Use a clean logo that remains readable at a small size. A transparent PNG or WebP usually works well. For the default sharing image, prepare a horizontal image with your publication name or a simple brand treatment. A size of 1200 × 630 pixels is a reliable choice for social previews.
PostnHost accepts PNG, JPEG, GIF, WebP, and HEIC images. Keep the files reasonably small so public pages stay quick to load.
Add the Site Logo
- Open Settings and select Assets.
- Under Site Logo, choose the logo file from your computer.
- Wait for the preview to update.
- Select Save Assets if the page still shows unsaved changes.
The preview lets you check whether the logo is clear at the size used by the site. If it looks crowded or too small, simplify the source image and upload it again.
Add the Default OG Image
- Find Default OG Image on the same page.
- Choose the horizontal sharing image.
- Check the large preview for unexpected cropping or unreadable text.
- Select Save Assets when needed.
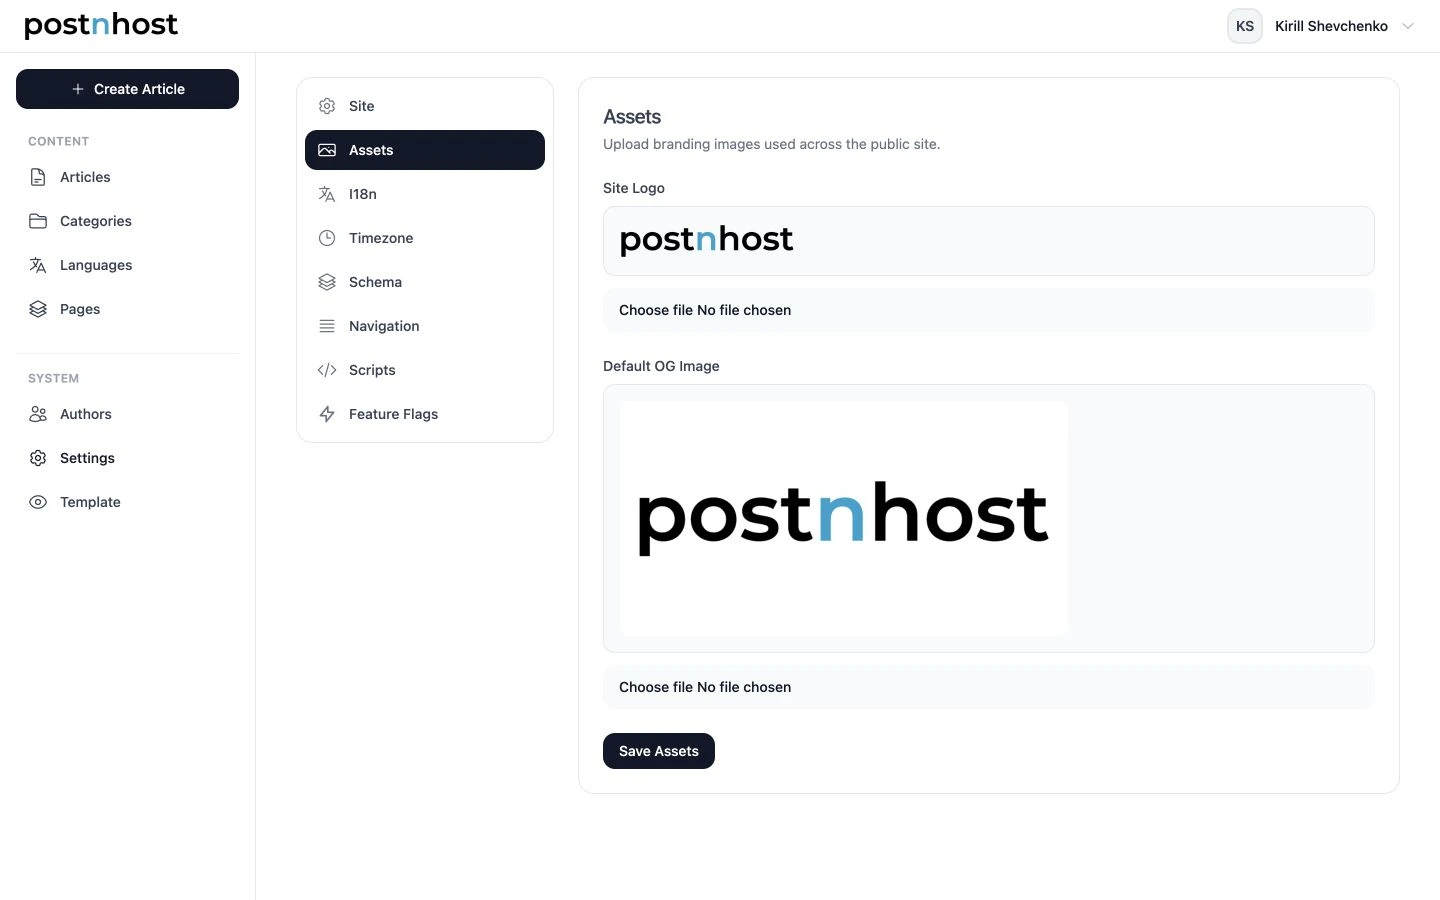
Settings → Assets keeps the publication logo and default social image together.
Know when the default image appears
The Default OG Image is a site-wide fallback. An article with its own cover image uses that article image when it is shared. Pages without a specific image can use the default instead. This lets you keep a consistent brand while still giving important stories their own visual.
Replace or remove an image
To replace an asset, choose a new file in the same field and save. To remove an uploaded image, use the trash control beside its preview and confirm the action. PostnHost then returns to its packaged default where one is available.
Check the result
Open the public site in another tab and confirm that the logo is sharp and correctly sized. Then view a page without its own cover image and use your preferred social-preview tool to check the sharing image. If either asset includes text, test it on both a large screen and a phone-sized preview.
Configure S3-compatible storage
PostnHost stores uploads on the local filesystem in development. In production, configure an S3 bucket or an S3-compatible service such as Tigris so uploaded logos, social images, cover images, and editor images remain available after a deployment.
Open the encrypted credentials editor:
bin/rails credentials:editAdd the upload credentials under postnhost::
postnhost:
  aws_access_key_id: YOUR_ACCESS_KEY
  aws_secret_access_key: YOUR_SECRET_KEY
  aws_region: us-east-1
  aws_bucket_name: your-upload-bucket
  aws_endpoint_url_s3: https://s3.us-east-1.amazonaws.com
Use the endpoint supplied by your storage provider. Keep these values out of source control, confirm that config/initializers/carrierwave.rb exists, and make sure uploaded objects can be served publicly. Restart the production app after changing credentials, upload a small test image under Settings → Assets, and confirm that it still loads from its public URL.
You can instead set the matching values in config/initializers/postnhost.rb. In that initializer the bucket option is named config.aws_bucket; explicit initializer values take priority over encrypted credentials.